
Sample Rate
If the audio file is a different Sample Rate than what ADD is set to, first ADD will ask if you want to change the Sample Rate of ADD. If you want to keep the Sample Rate, ADD will then ask if you want to convert the Sample Rate of the audio file.

💡*ADD supports mixed Sample Rate projects but it is NOT recommended.
Sync Marker
A sync marker will be placed at the beginning of the file dragged into ADD.

If you wish to edit the placement of the Sync Marker, create elements from a stem, or add metadata, double click the region to open the Region Editor. Here you can go to the Markers dropdown menu to add or adjust the Sync and Element markers just as you would in the Importer.

Once finished, go to File > Sound Editor > “Send to Timeline”.
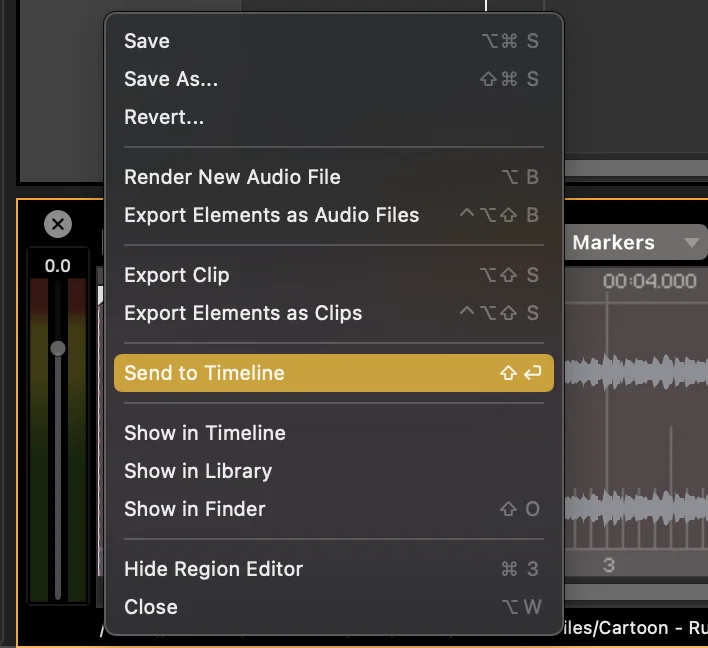
Your region will now have your edits in the timeline. More info on the Sound Editor can be found in Region Editor.
Metadata
If you want to add Metadata to the audio file, there are many options.
You can right-click the file and select “Edit Metadata for…”. You can also use the Edit option (pencil icon) in the right-hand sidebar ‘Metadata Window’. If viewing the file in the Library Window, you can right-click from there as well. You can use the keyboard shortcut ⌘M (Command+M) to edit metadata for any region selected. And, of course, you can edit metadata in the Importer.

This will open the Metadata Window. Here you can have ADD guess all metadata and then add or edit any metadata after. When done adding or editing, click “Save” to maintain all metadata changes and you can close the window.

For more information on tagging sounds see The Import Window.