Effective when replacing any sound, we highly recommend using the Replace Tab when replacing or placing Sound Design and Music.
The Replace Tab looks and works similar to the Search Tab with a few minor differences. While the Search Tab is more about the user being able to quickly find a sound, the Replace Tab is more about ADD being able to quickly find a sound.
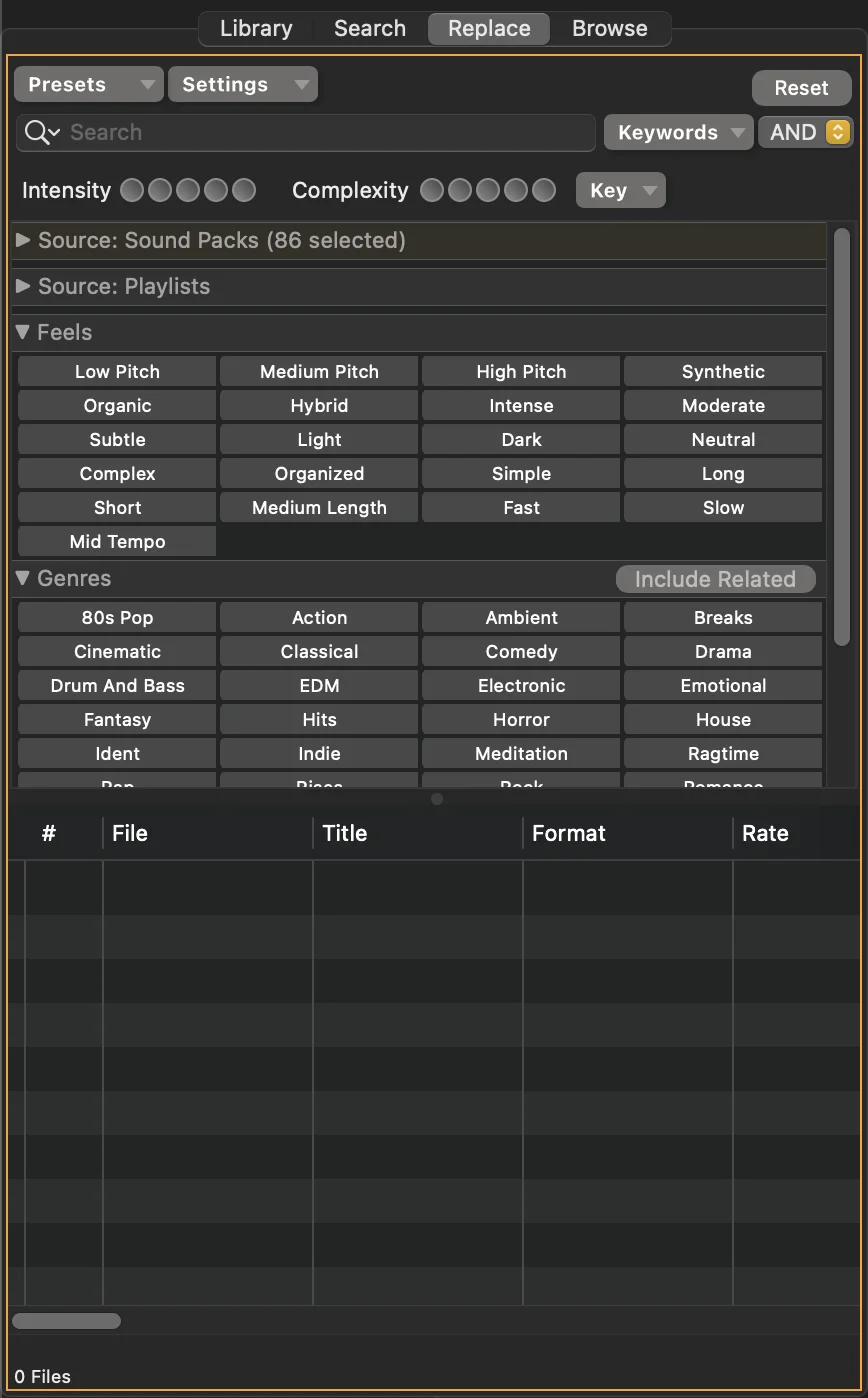
The Replace Tab is broken up into 3 sections:
- Settings – Top
- Menu Selections – Middle
- Replace Pool – Bottom
Any selections or changes in the Settings or Menu Selections will automatically populate the Replace Pool with all possible sounds that fit your specified parameters.
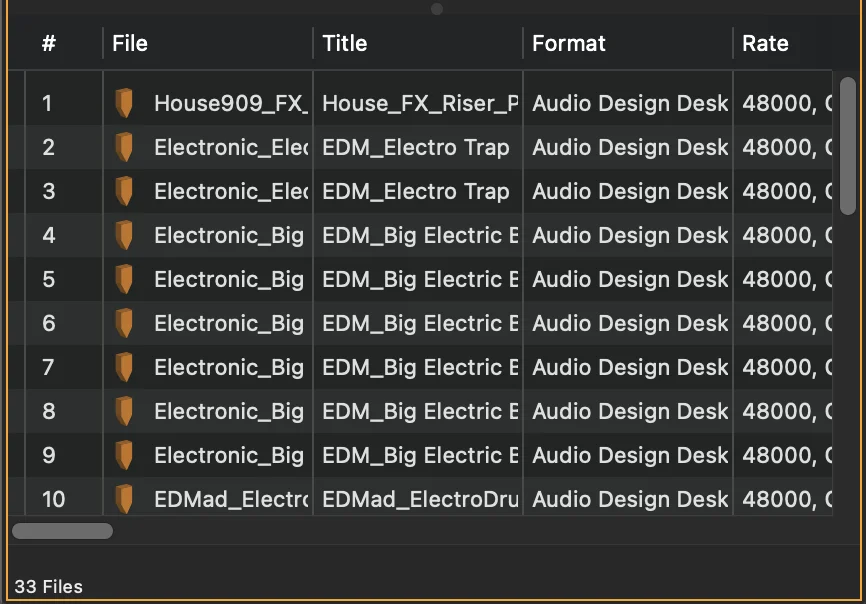
The total number of sounds that fit your selected parameters are listed in the bottom left corner.
Settings
The Settings section works as an extension use of the Replacement Settings as well as the Replacement Settings can be adjusted here.

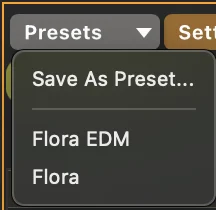
Presets
You can create custom presets of Replace Tab settings by clicking the “Presets” drop down menu.
For example:
You’ve just found the perfect settings for placing and replacing EDM music elements. But now you need to place sound design elements or foley so you have to Reset the Replace Tab settings. You can save these settings as a preset so you can quickly call upon them when you want to go back to placing and replacing EDM music elements.
Replacement Settings
The Replacement Settings drop down menu can be accessed here on on the Timeline Toolbar. For more information see Replacement Settings.
Search
The Search Bar and surrounding functions give you several options to find sounds to populate the Replace Pool with beyond typing in keywords.
Search History
Clicking the “Magnifying Glass” drop down arrow in the Search Bar will give you a list of your search history. You can click a previously search term to re-search for sounds related to the term.
Keywords
To the right of the Search Bar is a “Keywords” drop-down that shows all of the keywords remaining in any given selection. If no other selections have been made you will be able to choose from all keywords within ADD. When a keyword is selected it will be added in the Search Bar.
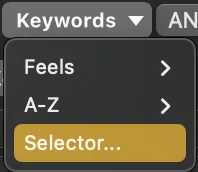
There are three different categories for selecting keywords.
- Feels – Keywords that describe terms such as Organic, Synthetic, Dark, High, etc. More info on Feels described further down.
- A-Z – See a list of all keywords starting with a specific letter.
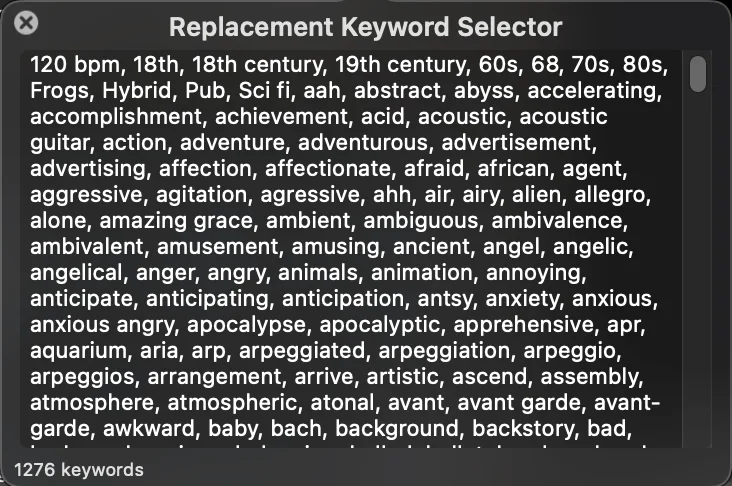
- Selector – See a list of all keywords within ADD. Scroll through and manually select any keyword(s) you would like.
And/Or
And/Or tells ADD how to populate sounds in the Replace Pool based on your selected settings.
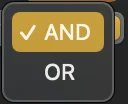
And: Sounds must contain all search terms and selected parameters to be populated in the Replace Pool.
Or: Sounds only have to contain 1 part, either search terms or selected parameters, to be populated in the Replace Pool.
Intensity/Complexity
Specify how Intense and/or Complex sounds you want sounds to be in the Replace Pool
![]()
Intensity – How extreme a sound is. The difference be a subtle drone and heavy metal music.
Complexity – How many layers and how much movement. The difference between a solo whistle and a Mozart Symphony.
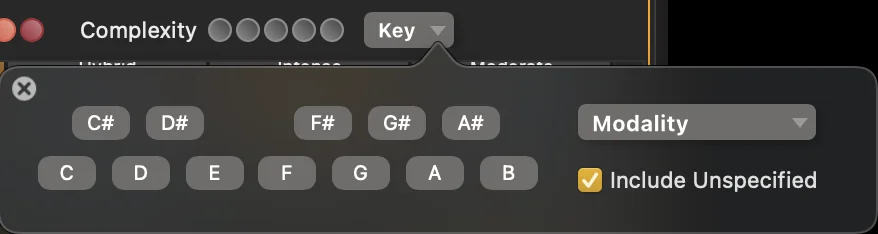
Key
When working with music it is recommended to set a Key. This prevents ADD from replacing or placing any music elements with new elements from an outside key.
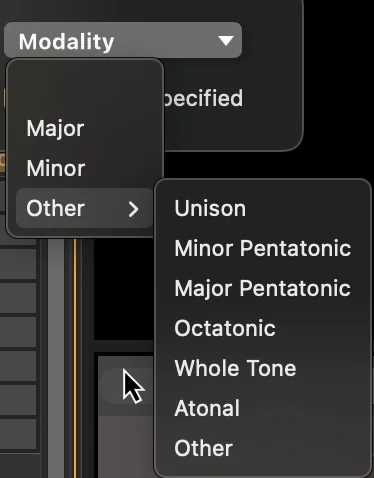
You can further refine Key by specifying a Modality. The current list of supported modalities is shown below.
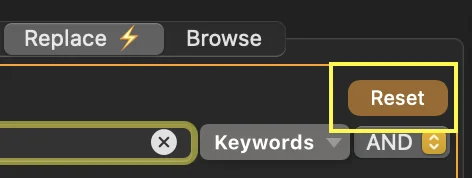
Reset
Clicking Reset will erase all parameters such as search terms, menu selections, etc. When finished using the Replace Tab for a selection of sounds, it is recommended to immediately Reset the Replace Tab to prevent you from replacing future sounds and to prevent placing sounds specific to your old replace parameters.
If you like your current Replace Tab settings and don’t want to reset, create a Preset that can be called upon later. Now you can Reset the Replace Tab to continue working on your project.
Menu Selections
The Menu Selections give you several options to find specific sounds based on the metadata placed on those sounds as well as the location of the sounds.
Sound Packs
The Sound Packs drop down allows you to select and deselect specific sound packs that ADD can pull sounds from.
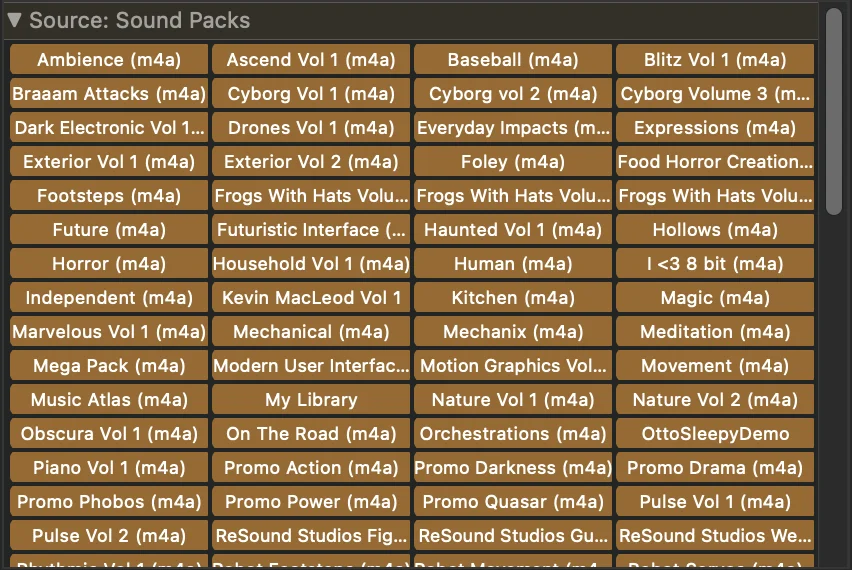
You can deselect all sound packs by (Opt-Clicking) a selected sound pack. (Opt-Clicking) a deselect sound pack reselects all sound packs.
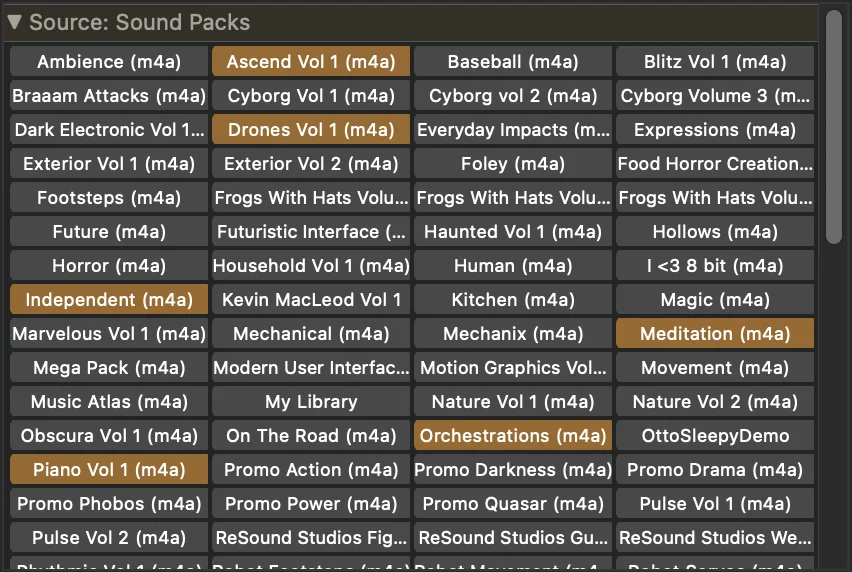
For Example:
You know that the drone sounds you want to use are all located in the “Meditation” sound pack. It can be pretty hard to get ADD to pull Meditation drones based solely on search terms and settings. You can deselect all packs except for the “Meditation” pack and ADD will only place and replace sounds with sounds from the Meditation pack.
Playlists
The Playlists drop down allows you to specify which playlist ADD is able to pull from when populating the Replace Pool.

If you have created a playlist of sounds specific to a project, you can select that playlist here and ADD will only place and replace sounds with sounds from that playlist. More information on creating playlists can be found in Library Window.
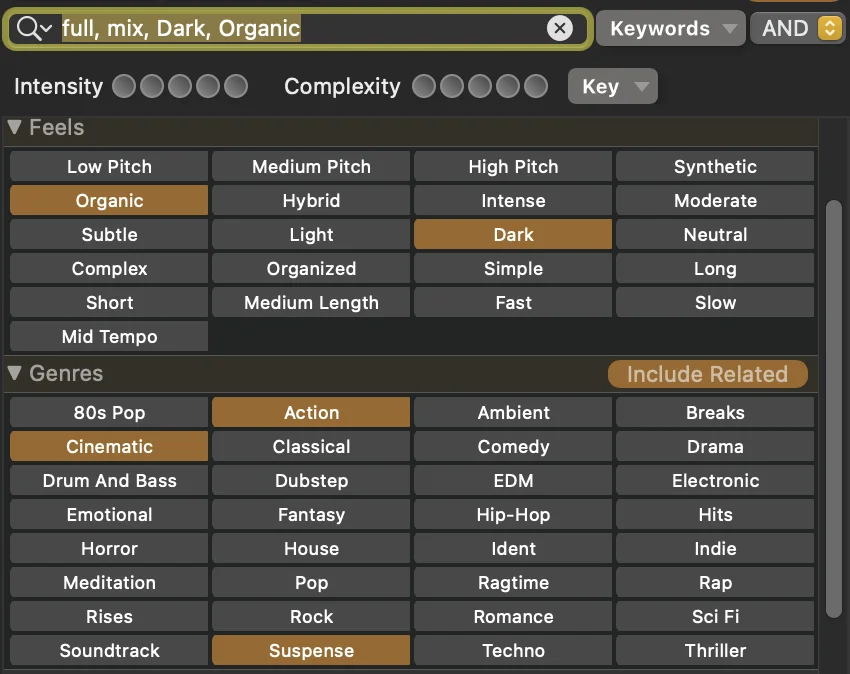
Feels
The first of two of the most important menus, Feels contains a list of the most commonly used keywords to describe the feeling of music and sound design elements.
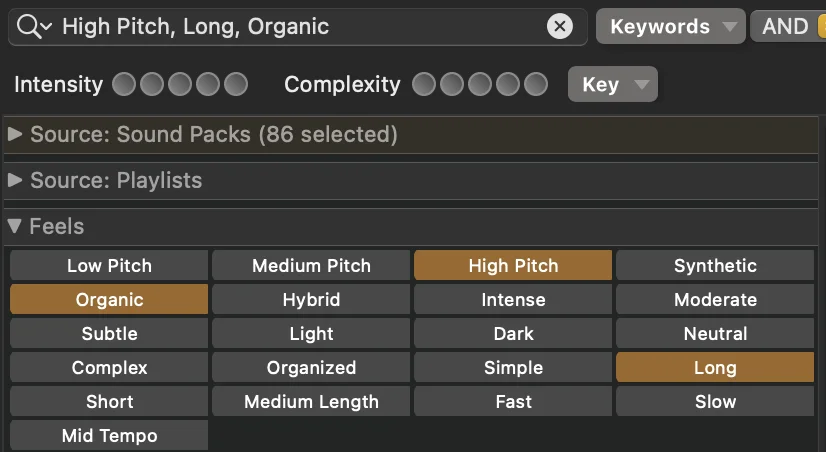
Any selection made in this drop down will be added as a search term above.
Genres
The second of two of the most important menus, Genres contains a list of all genre related metadata used in ADD for sound design and music.
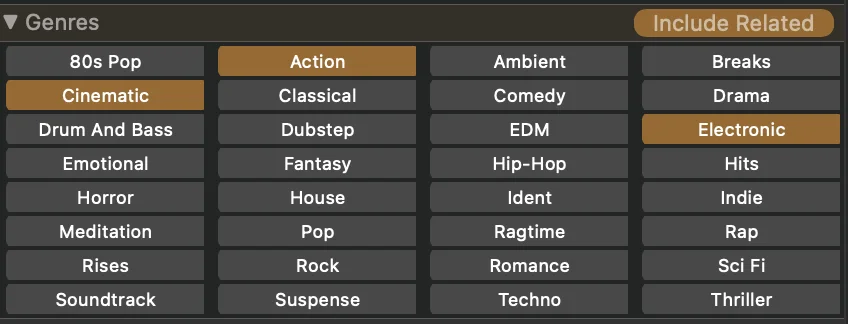
Selecting “Include Related” will add a few extra Sub-Genres to the list as well as it will include any sound in the Replace Pool that has your selected genre listed as the sound’s secondary genre.
For Example:
“Electronic” has its own set of sounds but selecting “Include Related” would also give you “Sci-Fi” sounds since they tend to be electronic.
Album
Here you can select specific albums ADD can pull from sounds from. If you have downloaded sounds that all belong to a album you can select only those sounds here.
Composers
Here you can select specific composers ADD can pull sounds from. If you notice that you have a favorite Sound Designer or Musical Composer, you can select their name and ADD will only populate the Replace Pool with their sounds.
Replace/Place Sounds
These next two sections will show you an example of how to use the Replace Tab effectively.
Replace
To start, let’s say that you’ve just placed a Full-Mix Music region at random by pressing ( Z ).

The music isn’t quite right and you want to replace the music with an intense horror cue.
So you open the Replace Tab and select Intensities “4 / 5”. Then you open the Genres drop down and select “Horror”.
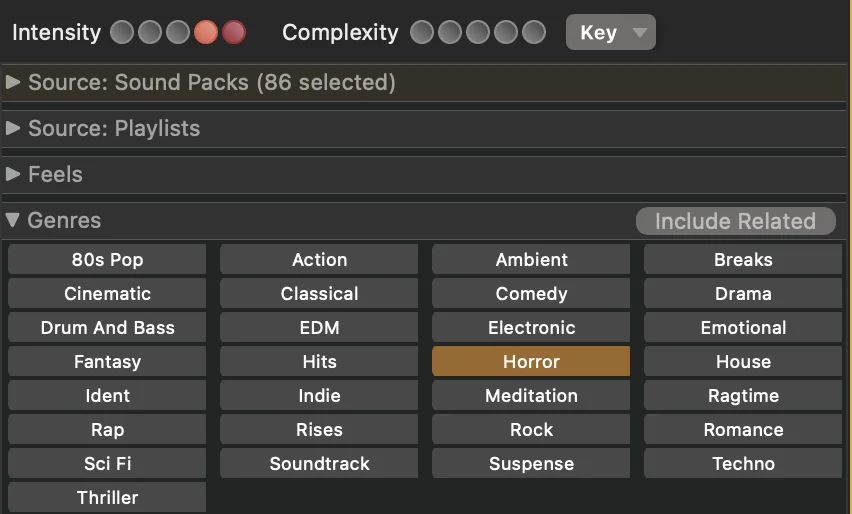
Now you select your music cue and replace it by pressing (CMD-R).

The new music is much closer but the cue is synthetic instruments and you want it to sound like organic instruments.
Go back to the Replace Tab, open the Feels drop down menu, and select Organic.
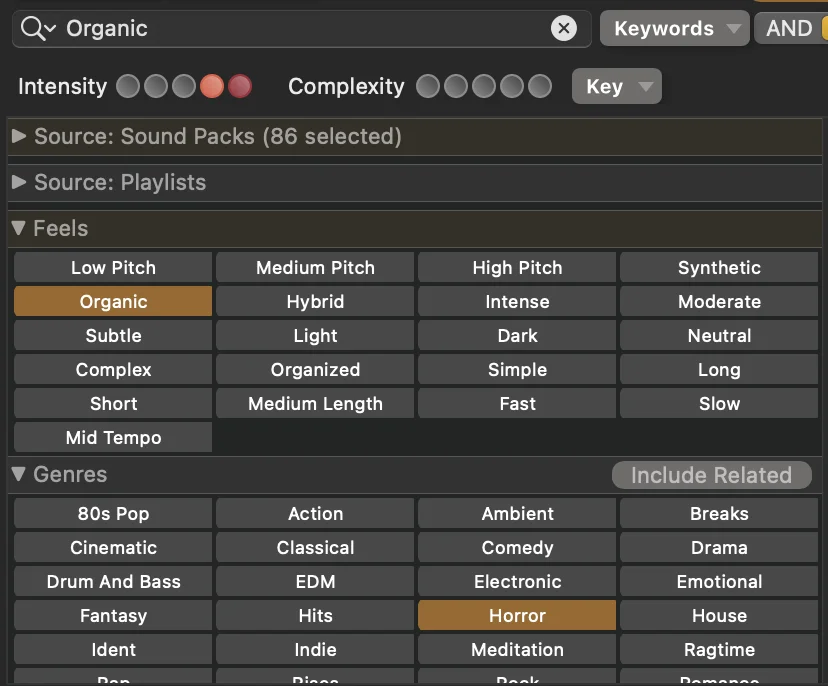
Now select the placed music cue and press (CMD-R) to replace.

You’ve quickly and successfully found the perfect music for your scene!
You may use a combination of replacing by parameters and genres/feels to narrow your replacements as much as necessary.
Place
As stated a few times in this article, you can not only replace sounds with the Replace Tab, but you can Place sounds too!
Continuing with the example above, now that you’ve added your horror music, you want to add a Drone over the top.
Back in the Replace Tab, you still want “Horror” and “Organic” selected but this sound doesn’t need to be intense because the music is already intense. So deselect Intensities “4 / 5”.
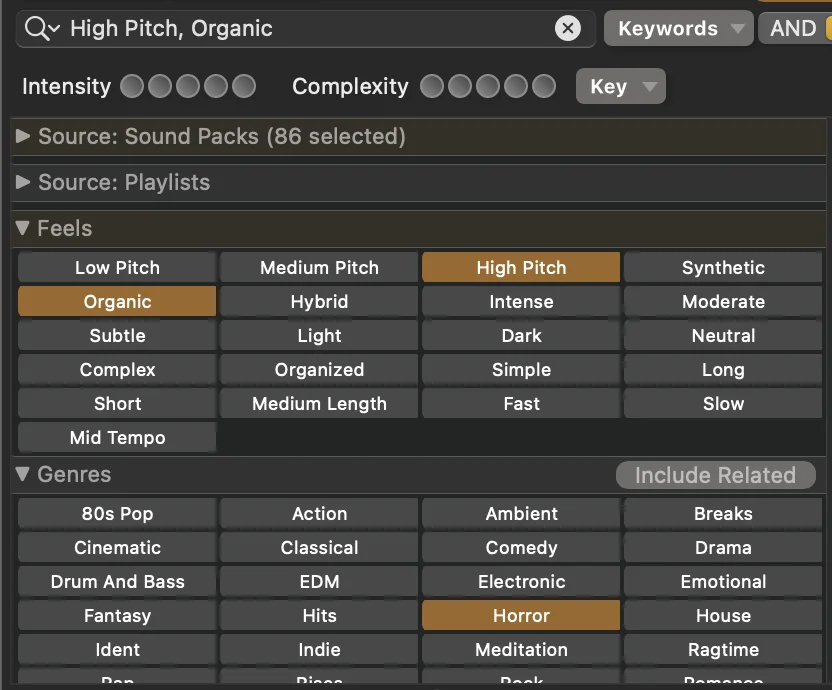
You want the drone to be high above the music so select “High Pitch” in the Feels drop down menu.
Now go back to your timeline and press ( D ) to add a drone.

A high-pitch, organic, horror drone is now added to your timeline!
**It is important to click on the “Reset” button when you finish replacing to avoid the error message when placing or replacing regions**